Blodgett Peak - Air Force One and Skyline Crag
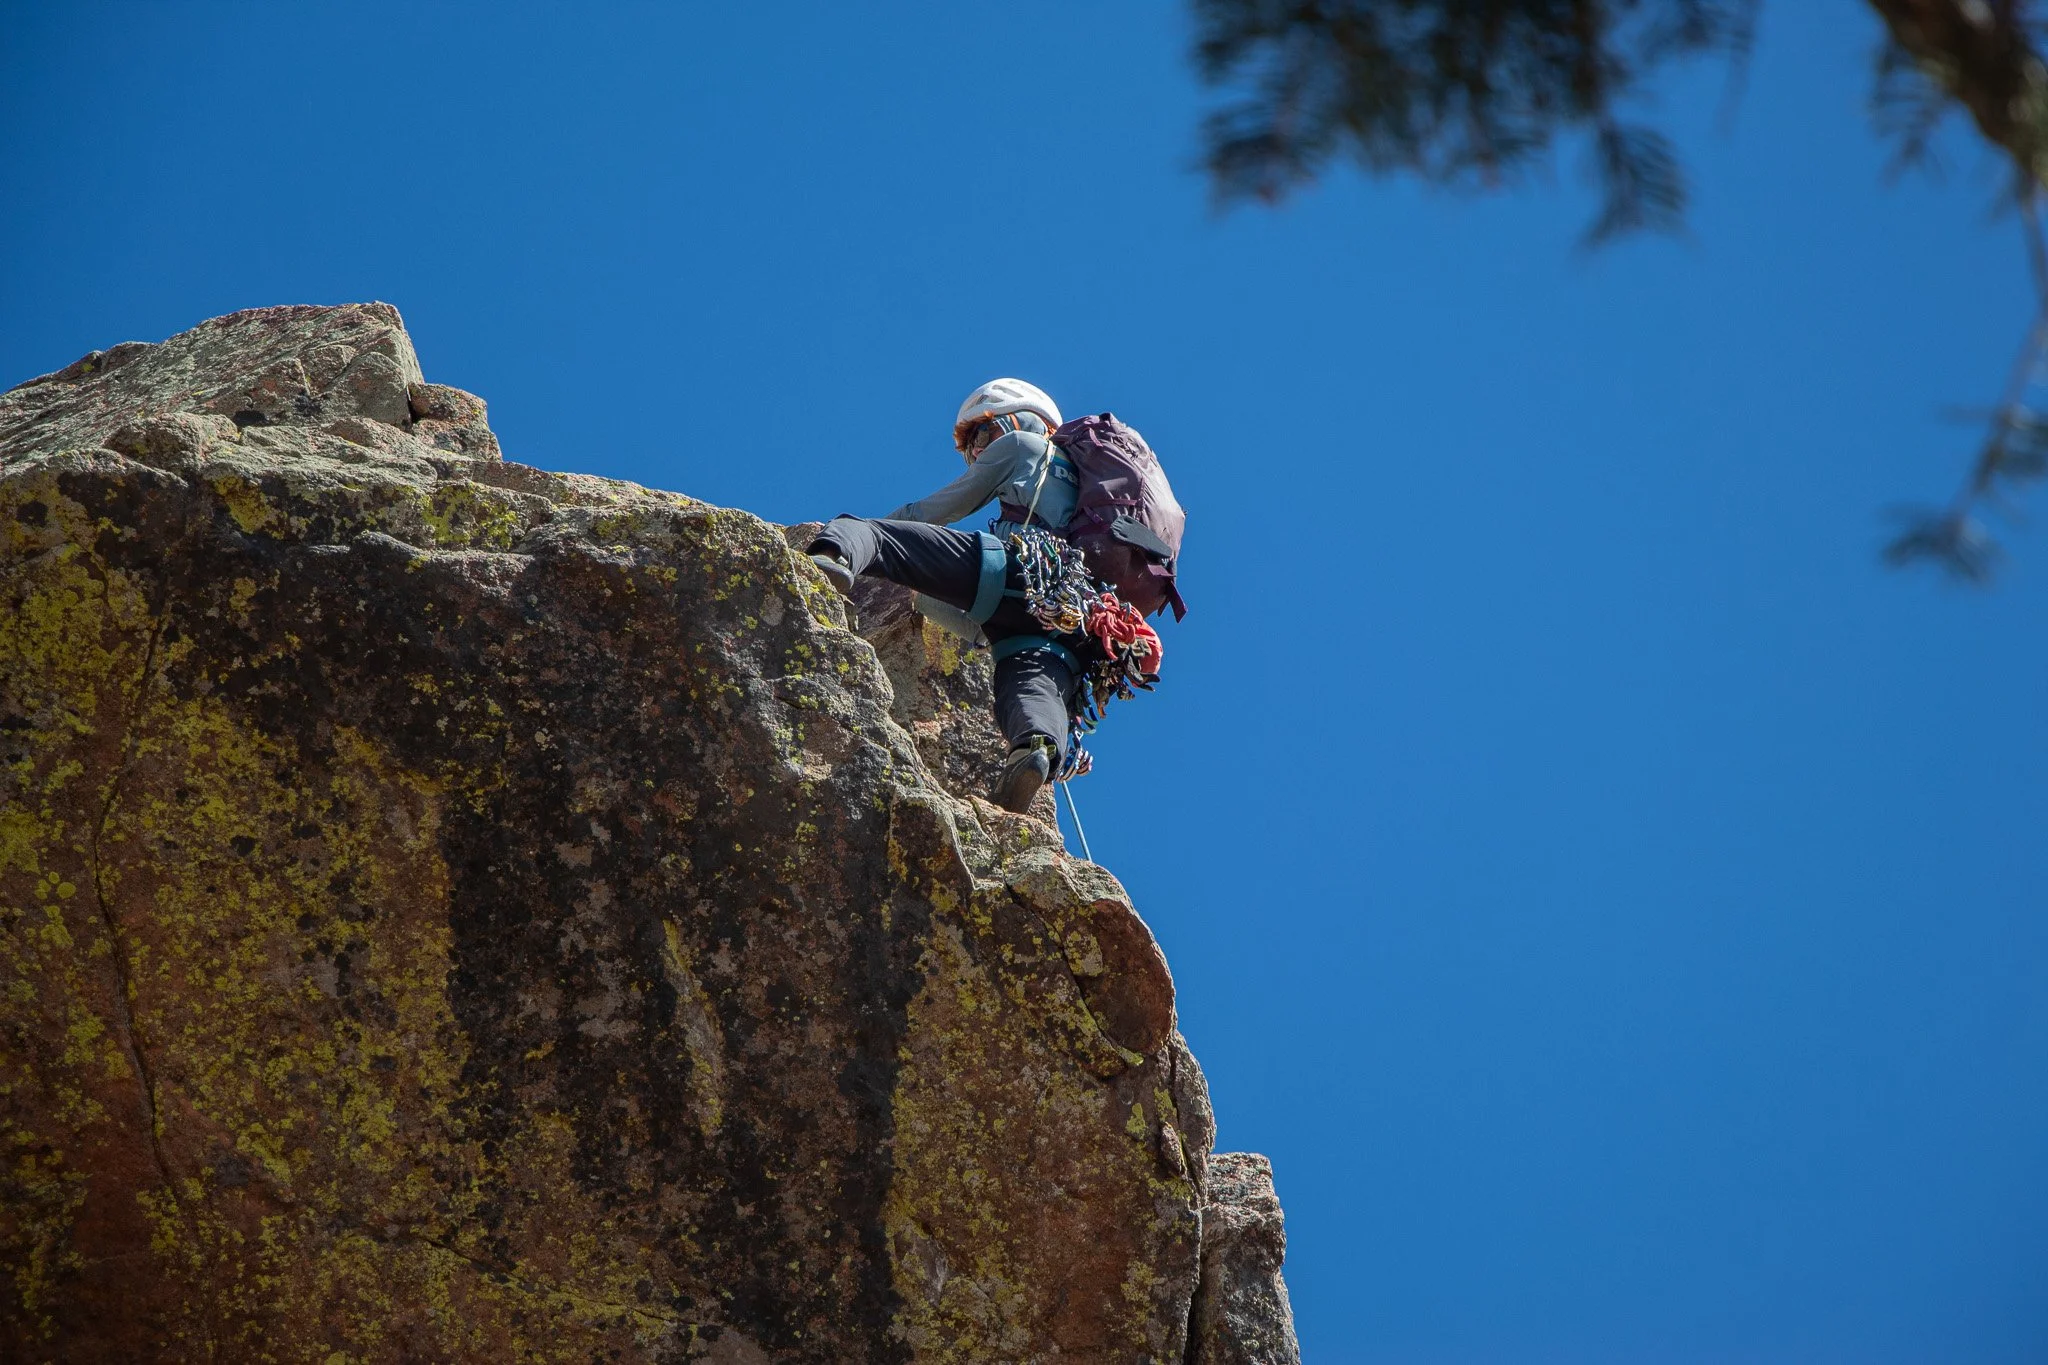
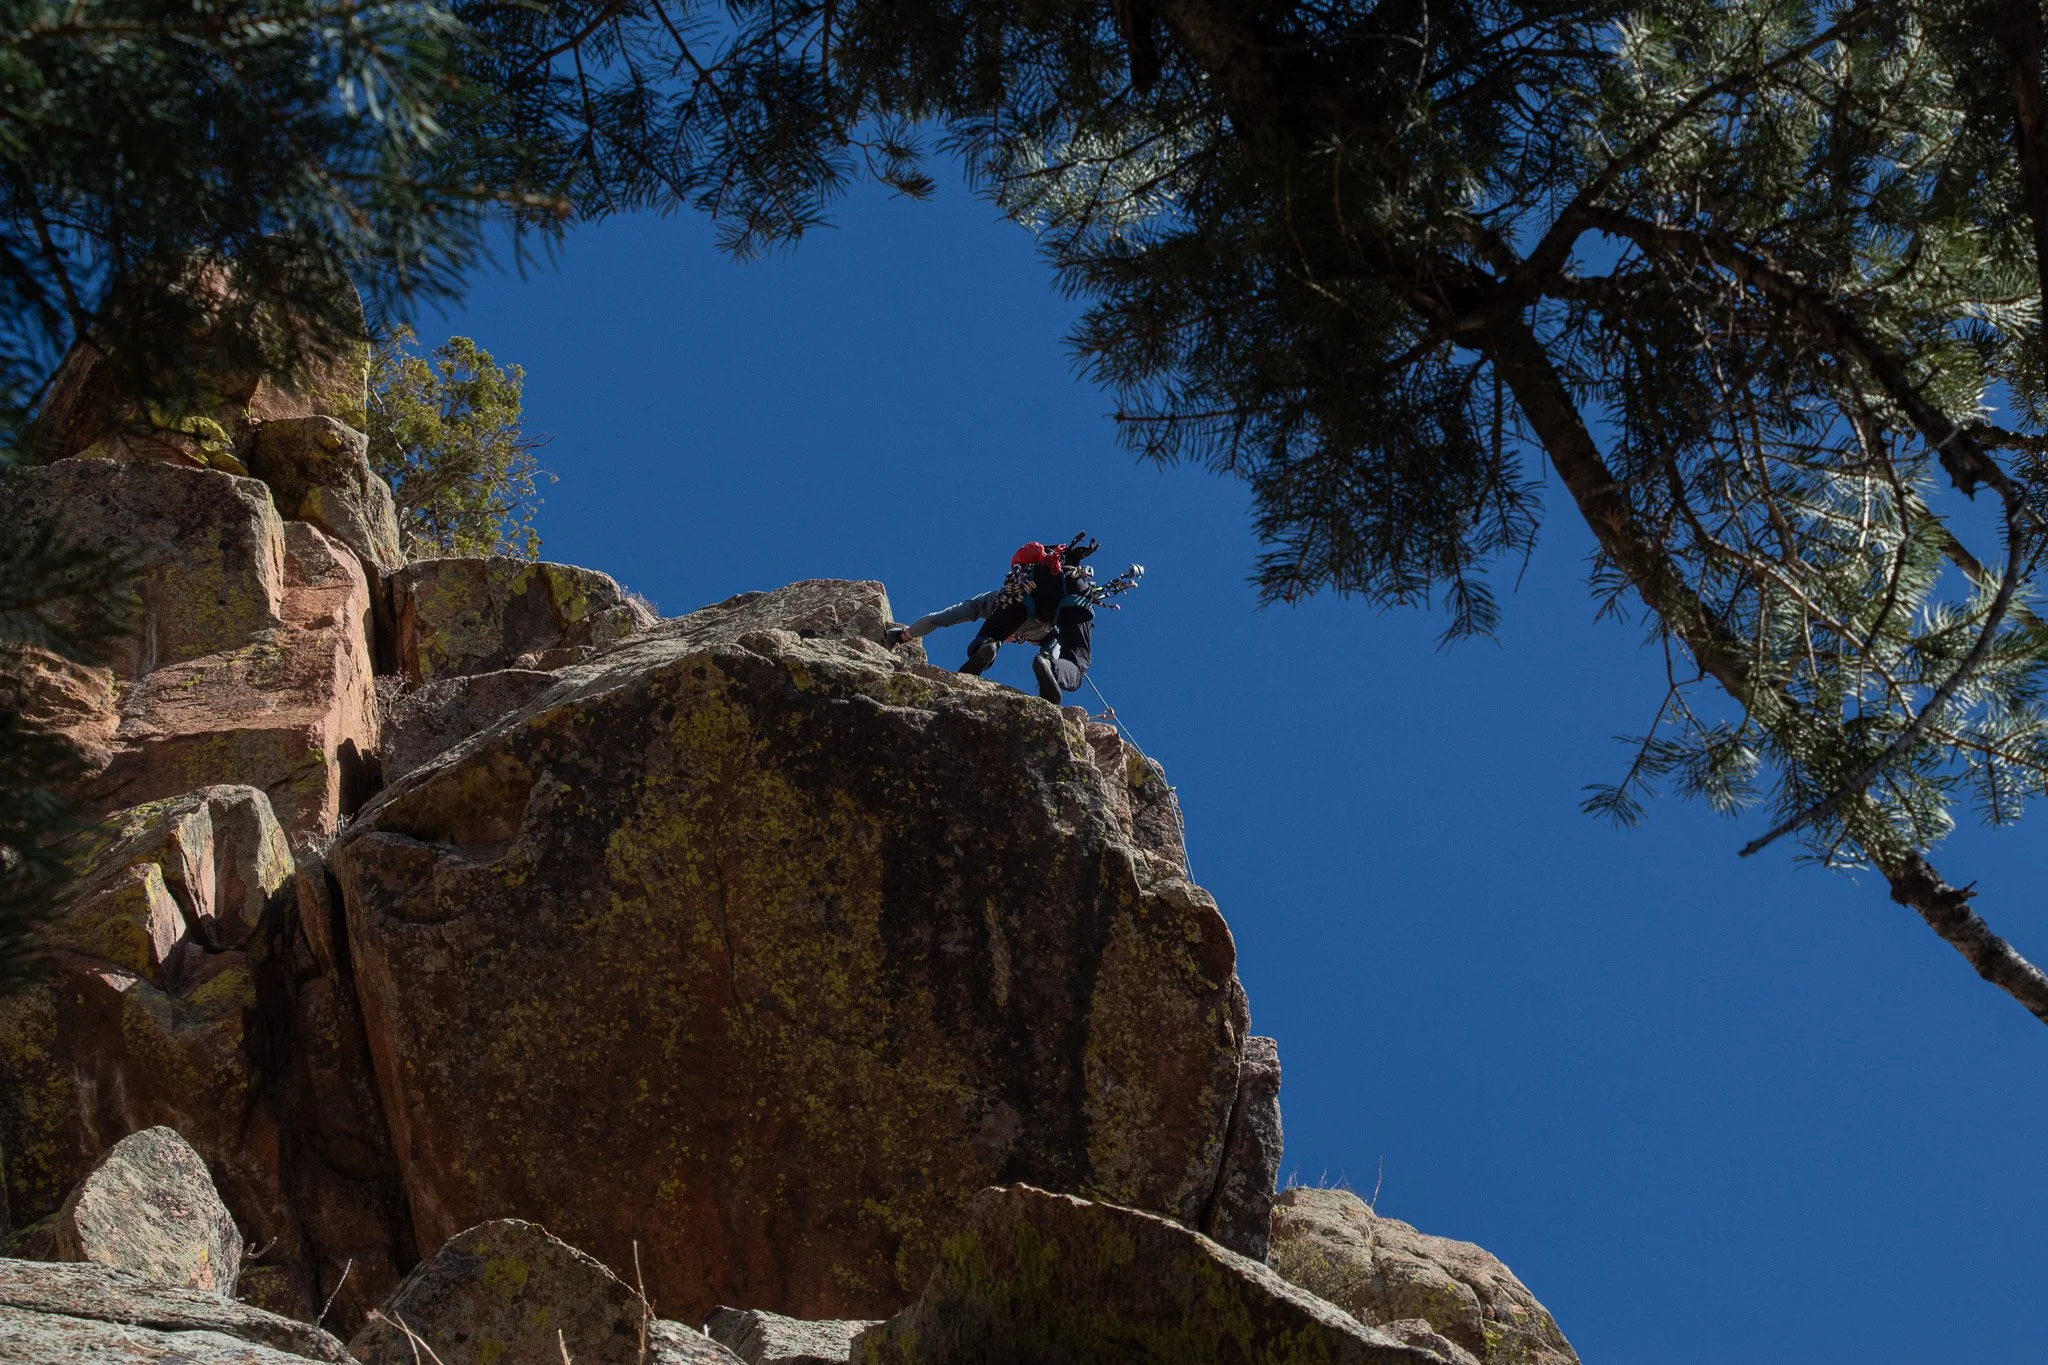
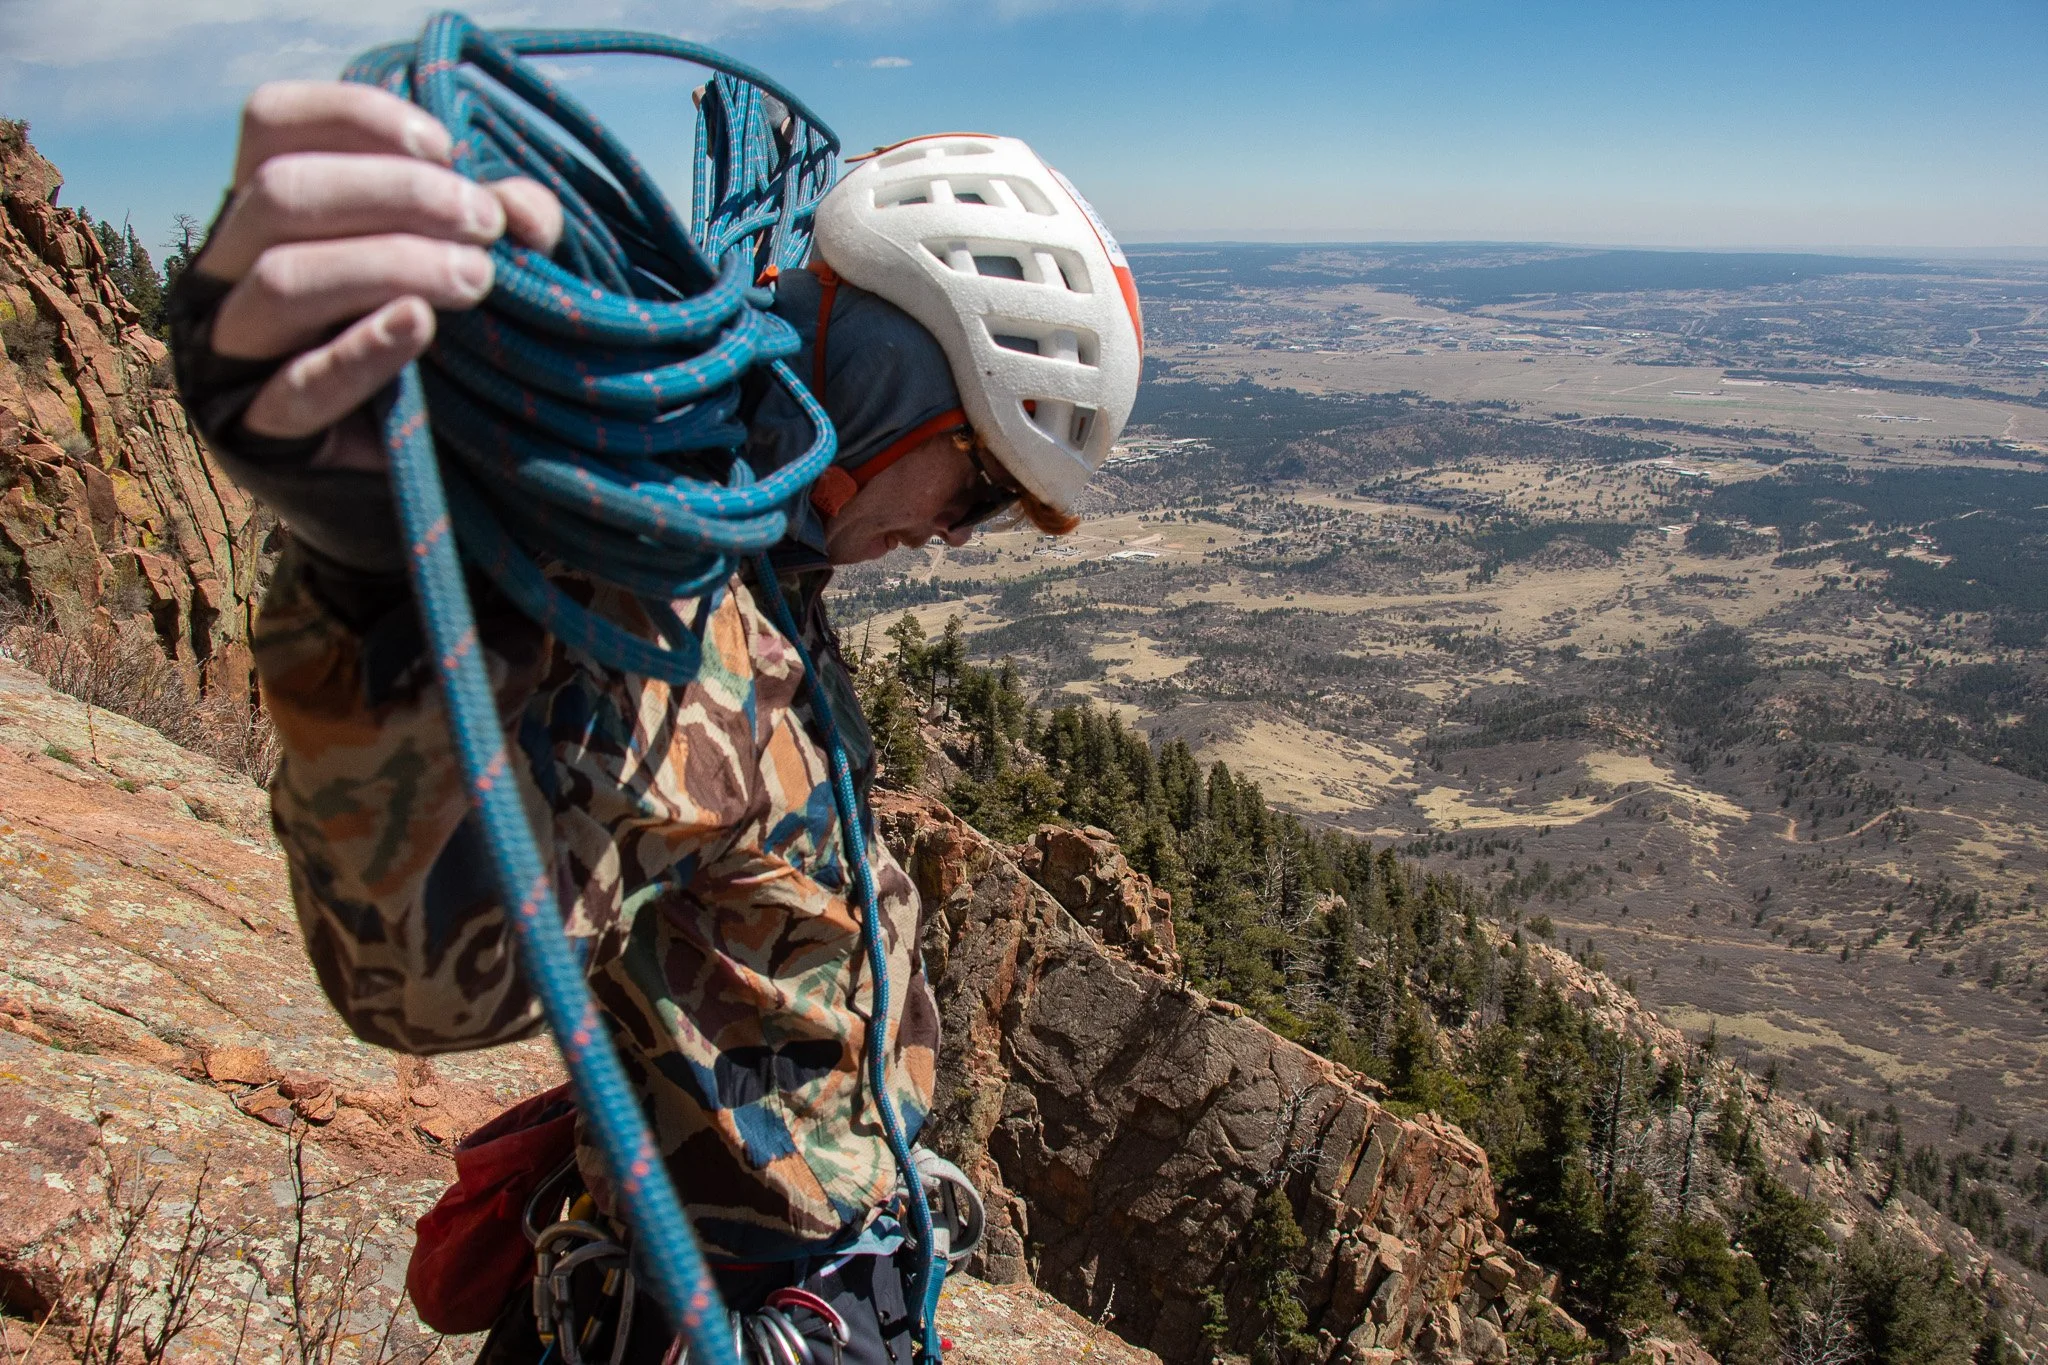
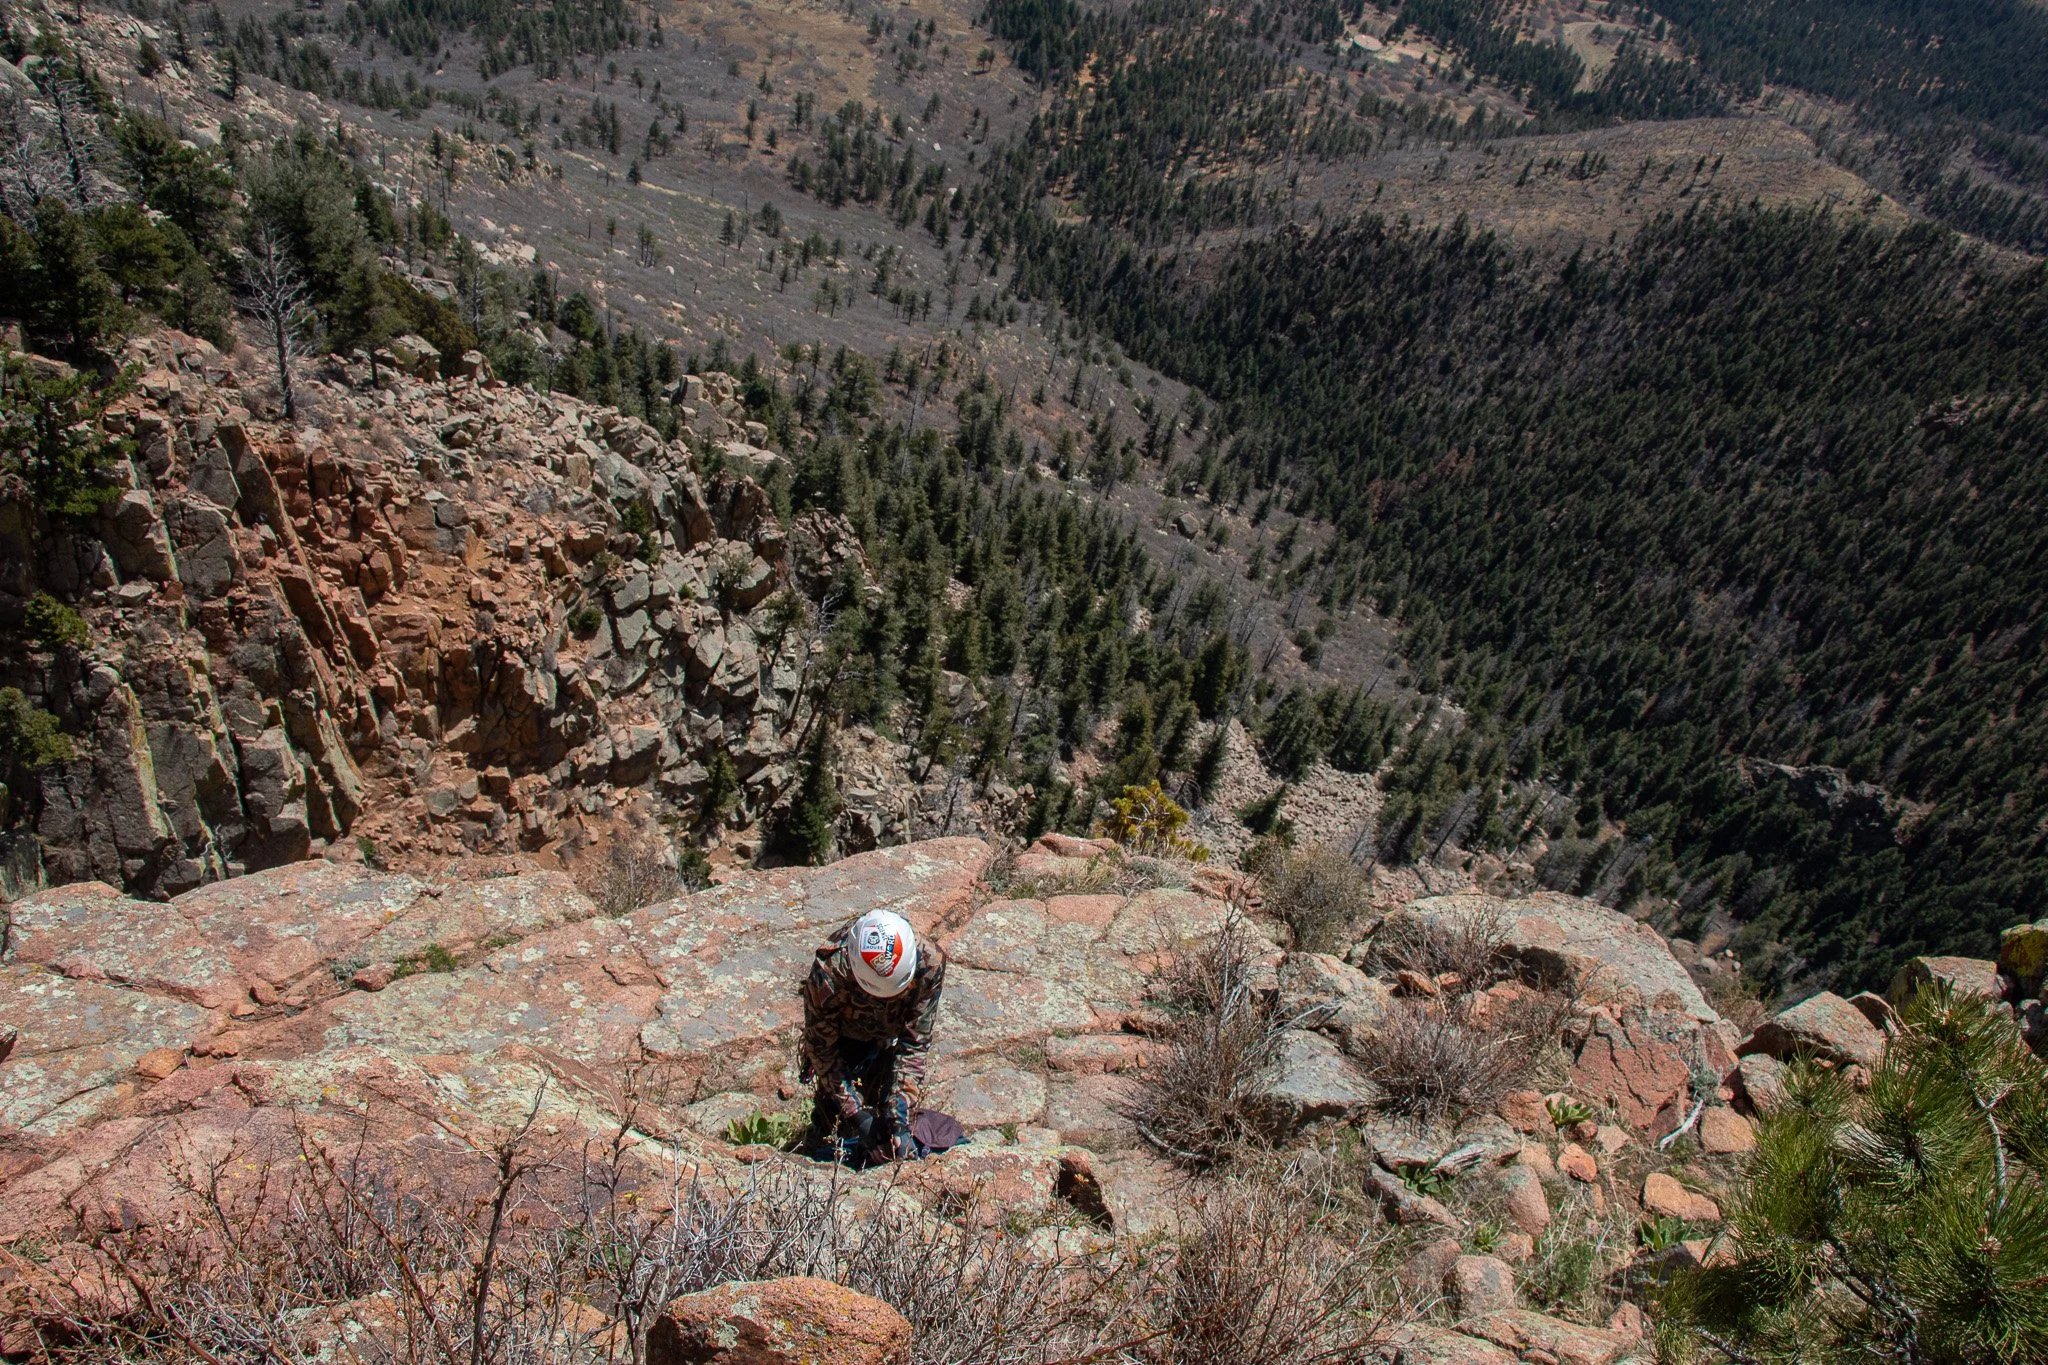
Topping out of the east face, coiling the rope for the summit scramble.
Blodgett Peak’s East face sticks out over Colorado Springs. It’s a big chunk of rock that glows in the morning light and just begs to be climbed. I live about 10 minutes from the trailhead, and the normal Blodgett trail is one of my favorites. I like to call it the “poor mans Incline”. It’s steep, little crowds, and you don’t have to worry about the Manitou Springs parking situation. Sure, the “trail” is a little rustic. Just bring your deep lugged trail runners, some trekking poles, and leave the approach shoes at home.
The longest and most prominent line on the east face of Blodgett is Air Force One. A 4 pitch 5.9/10b trad line with a handful of bolts. If you’ve spent some time around Blodgett you know there is some choss abound, but this route finds a line of good quality climbing right through it. The 1,400’ approach makes it a little hard to find partners for this one, but Beau has been game for some of my more adventurous ideas and was up for this as well.
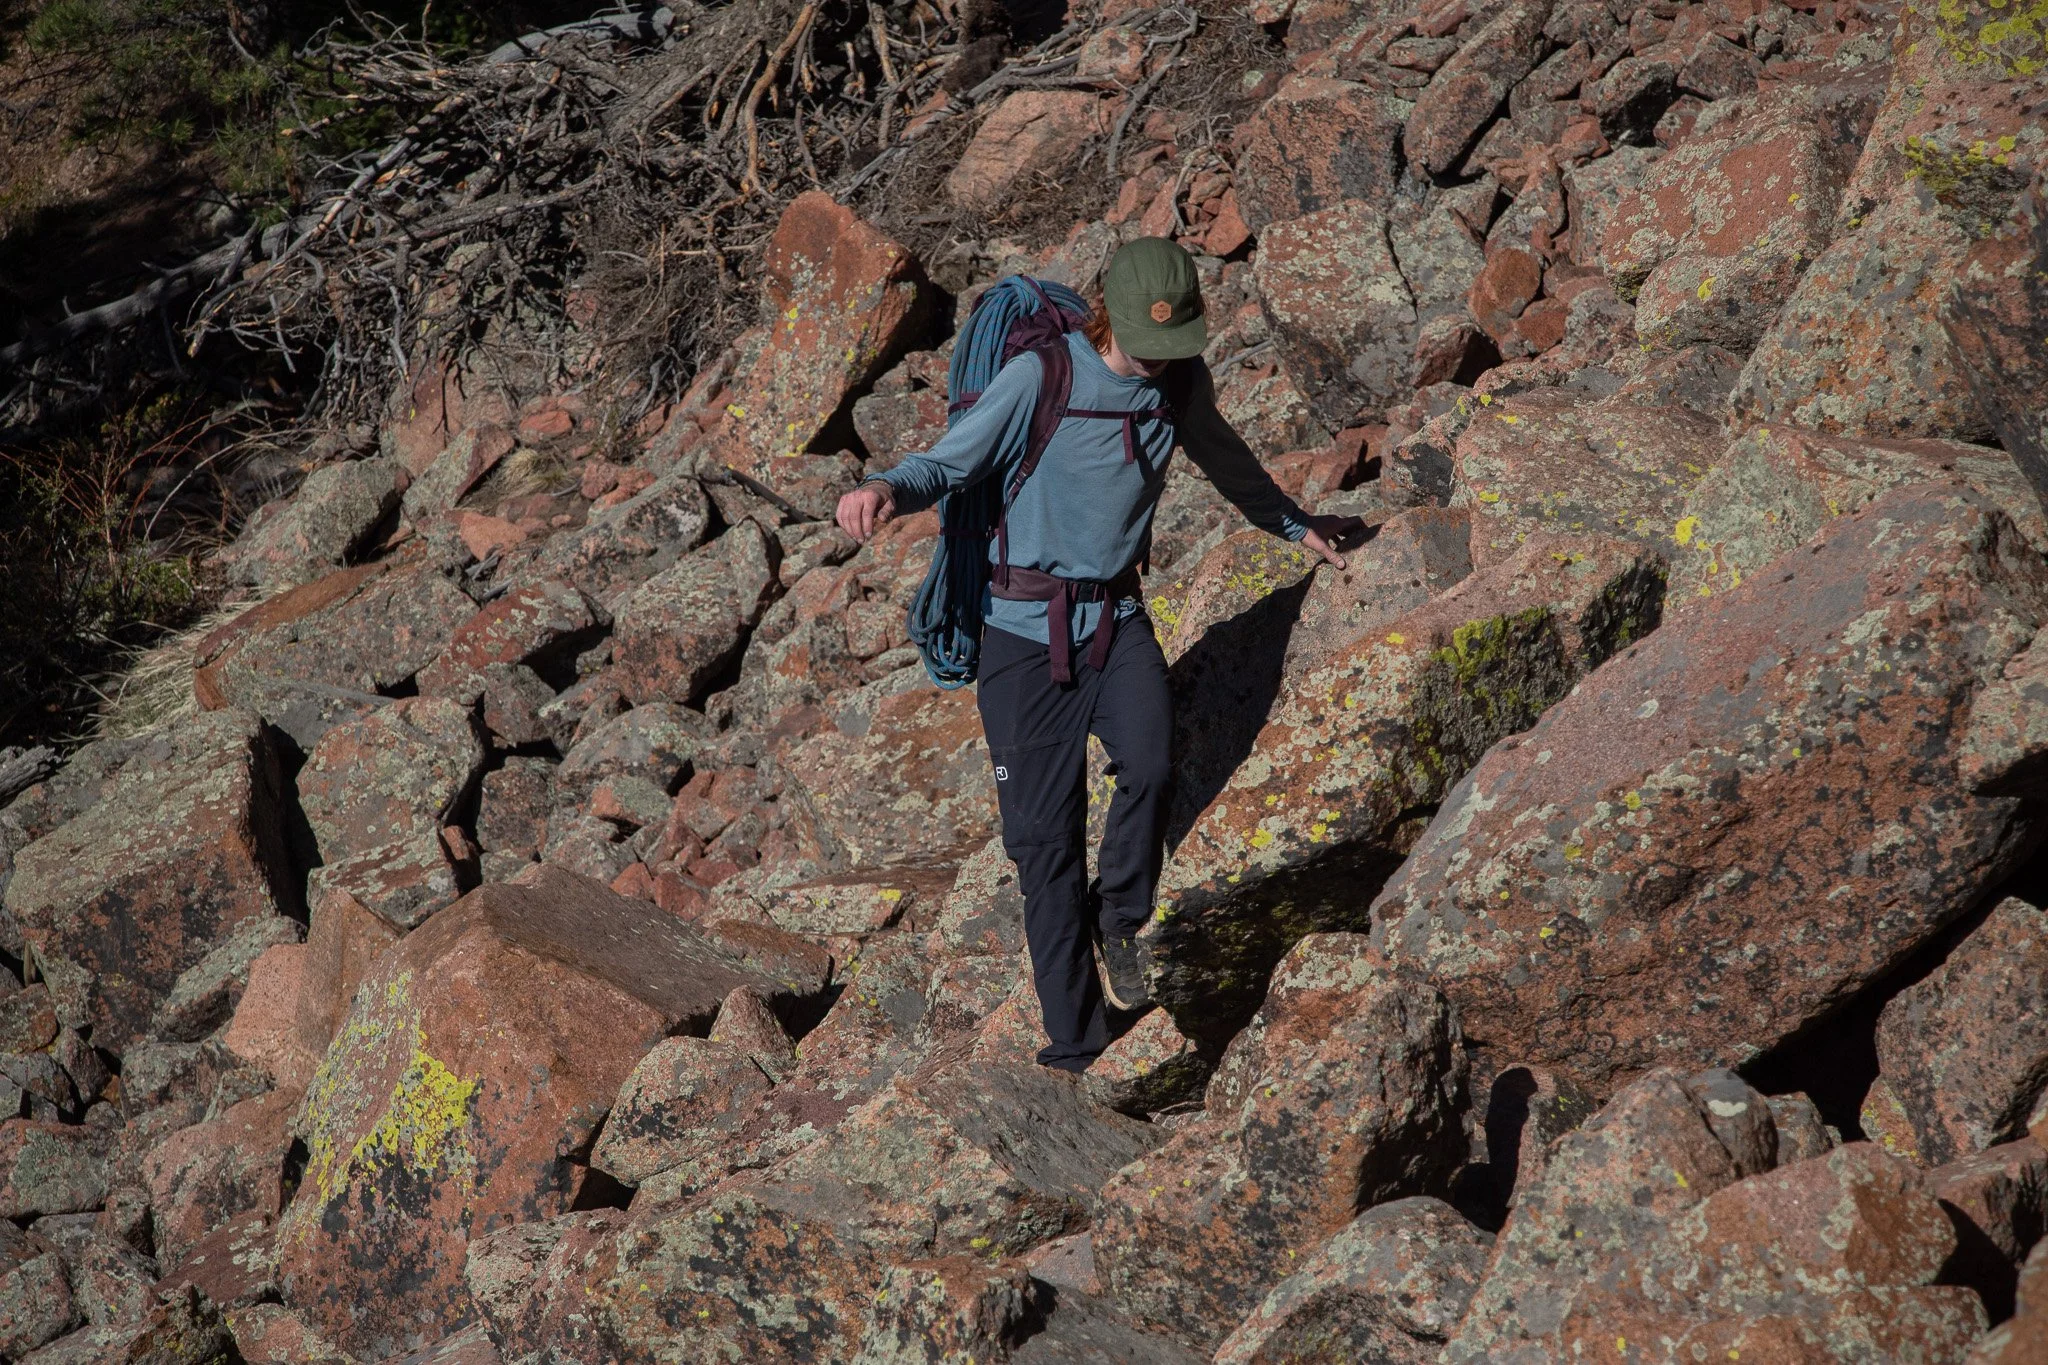
Easy boulder hopping traversing to the base.
I’ve ran around the trail and the base of the east face a fair amount of times now and I found the best (or at least my preferred) way to get to the base is to hike up all the way to about 8,500’ on the main trail and traverse in. The route is pretty easy to find. Look for the big roof above a big tree and shaded belay spot. Beau and I swapped leads on this one, with him taking pitch 1 and 3, myself leading 2 and 4.
The first pitch is a little bushy at first. Don’t let it deter you, as it quickly improves as you get up to the roof. A few bolts protect this section, and Beau got a .2 C4 near where(I think) there used to be a piton. To your right you’ll see a tree and the bolted anchor will be on the other side. It can be easy to miss and you could get sucked into the 5.7 variation of Pitch 2 if you climb too high.
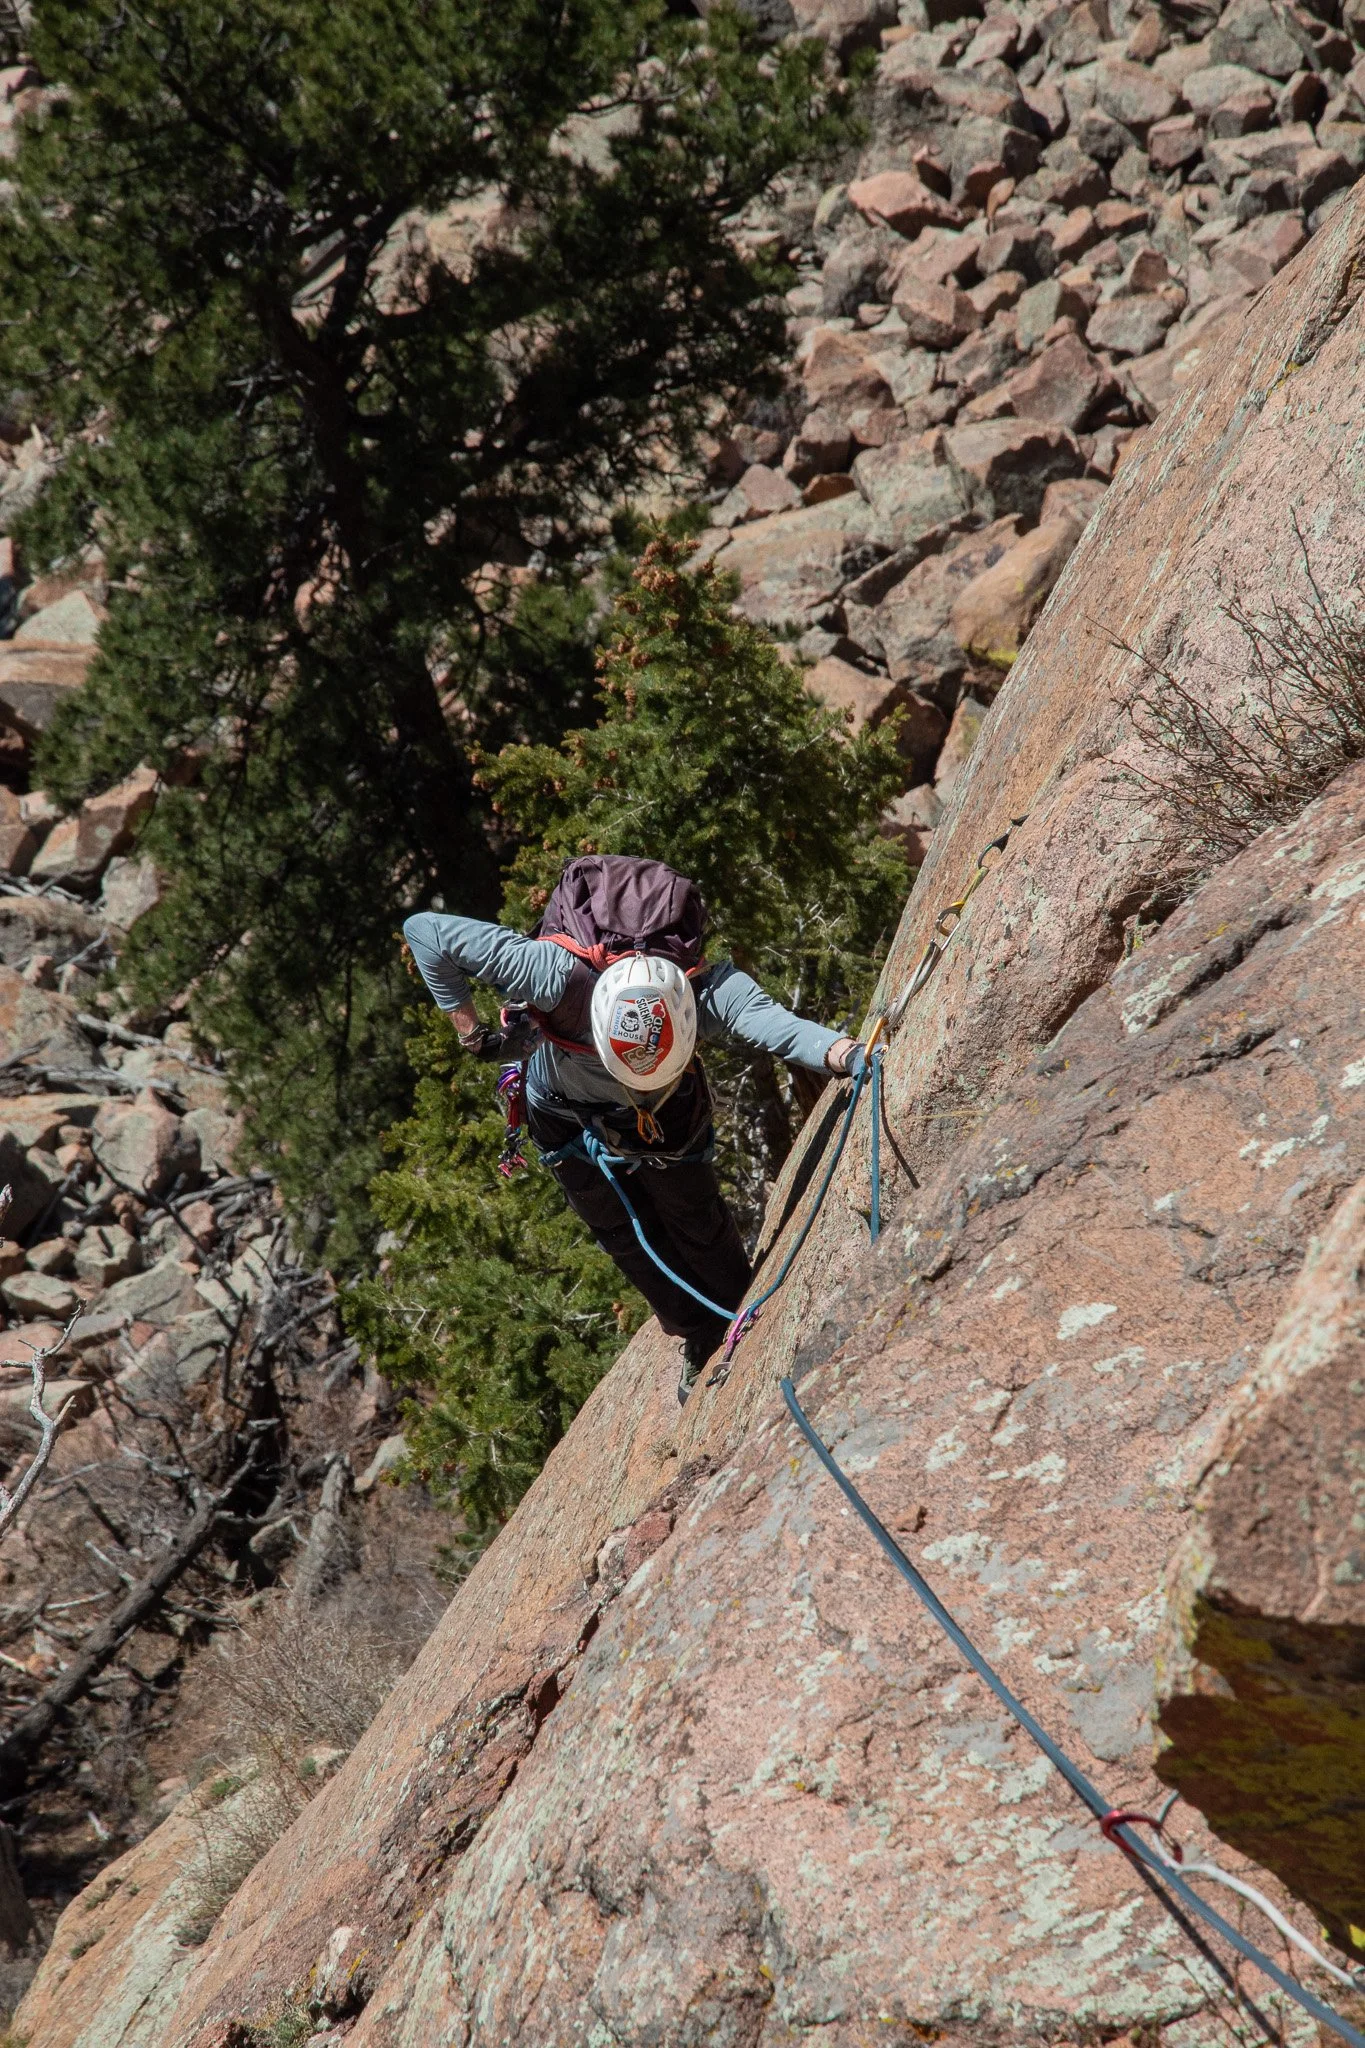
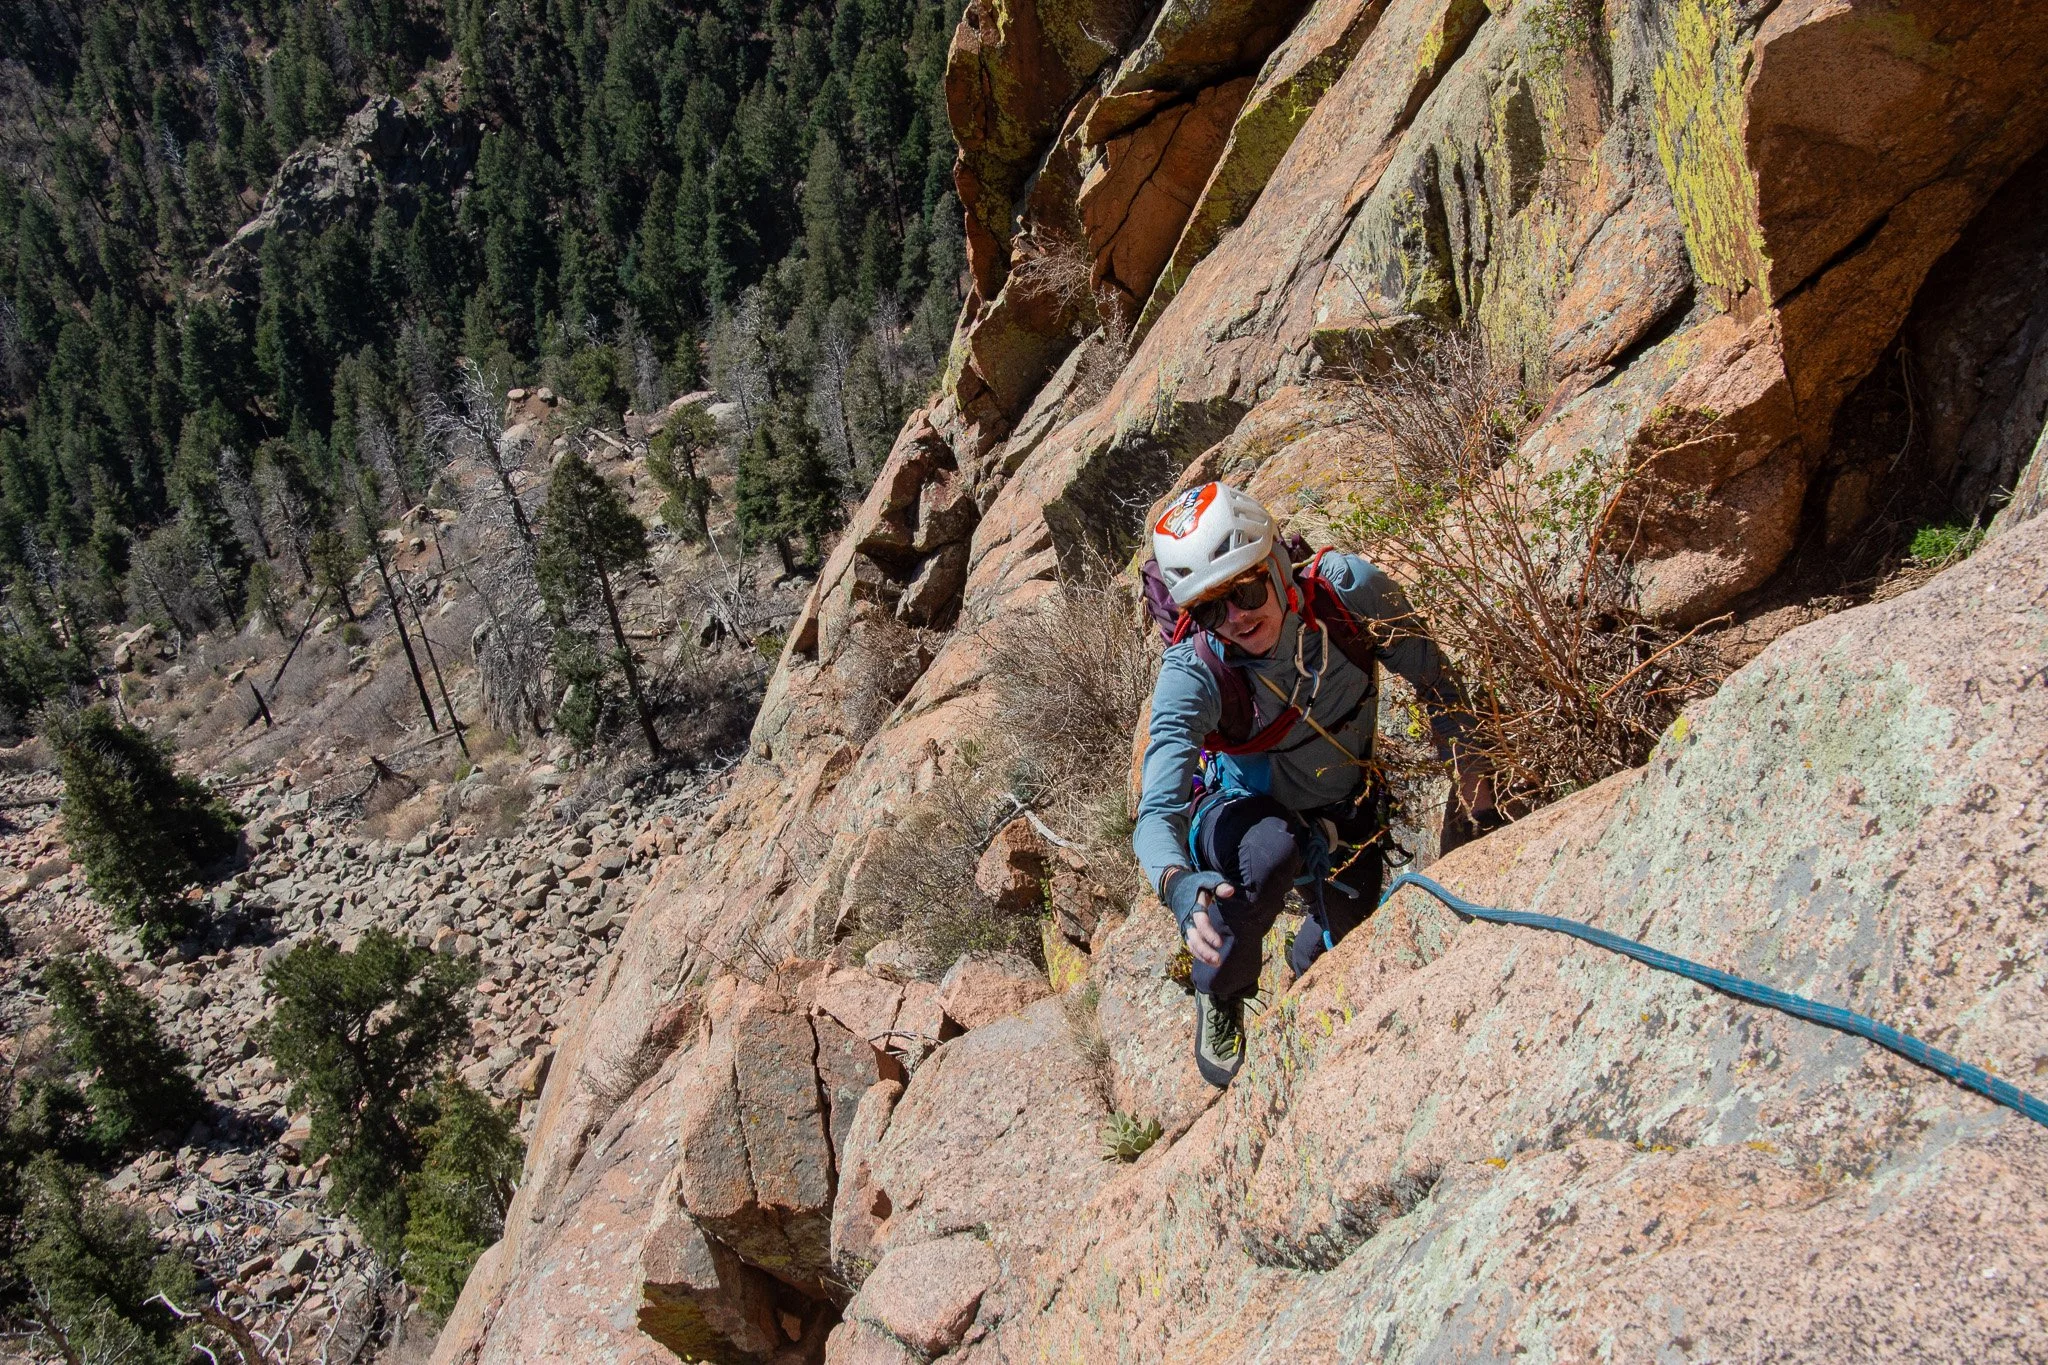
The first pitch prow - exposed moves with bolts and a clean fall. Take a look behind you for a great view!
We both thought Pitch 2 was the technical crux, with the P1 moves being a little more physical. There is an easier 5.7 variation, but the right leaning 5.9 crack offers some pretty fun and unique climbing. Each pitch is pretty spot on between 35-40m. If you’re using a 60m rope, listen for the half rope call, and if you’re using a 40, you should be getting near the end and the anchors will appear. These ones are hidden a little behind a ledge, but would be hard to miss climbing past them.

Just past what we considered the crux of the first three pitches. We both felt P2 had the most techy moves.
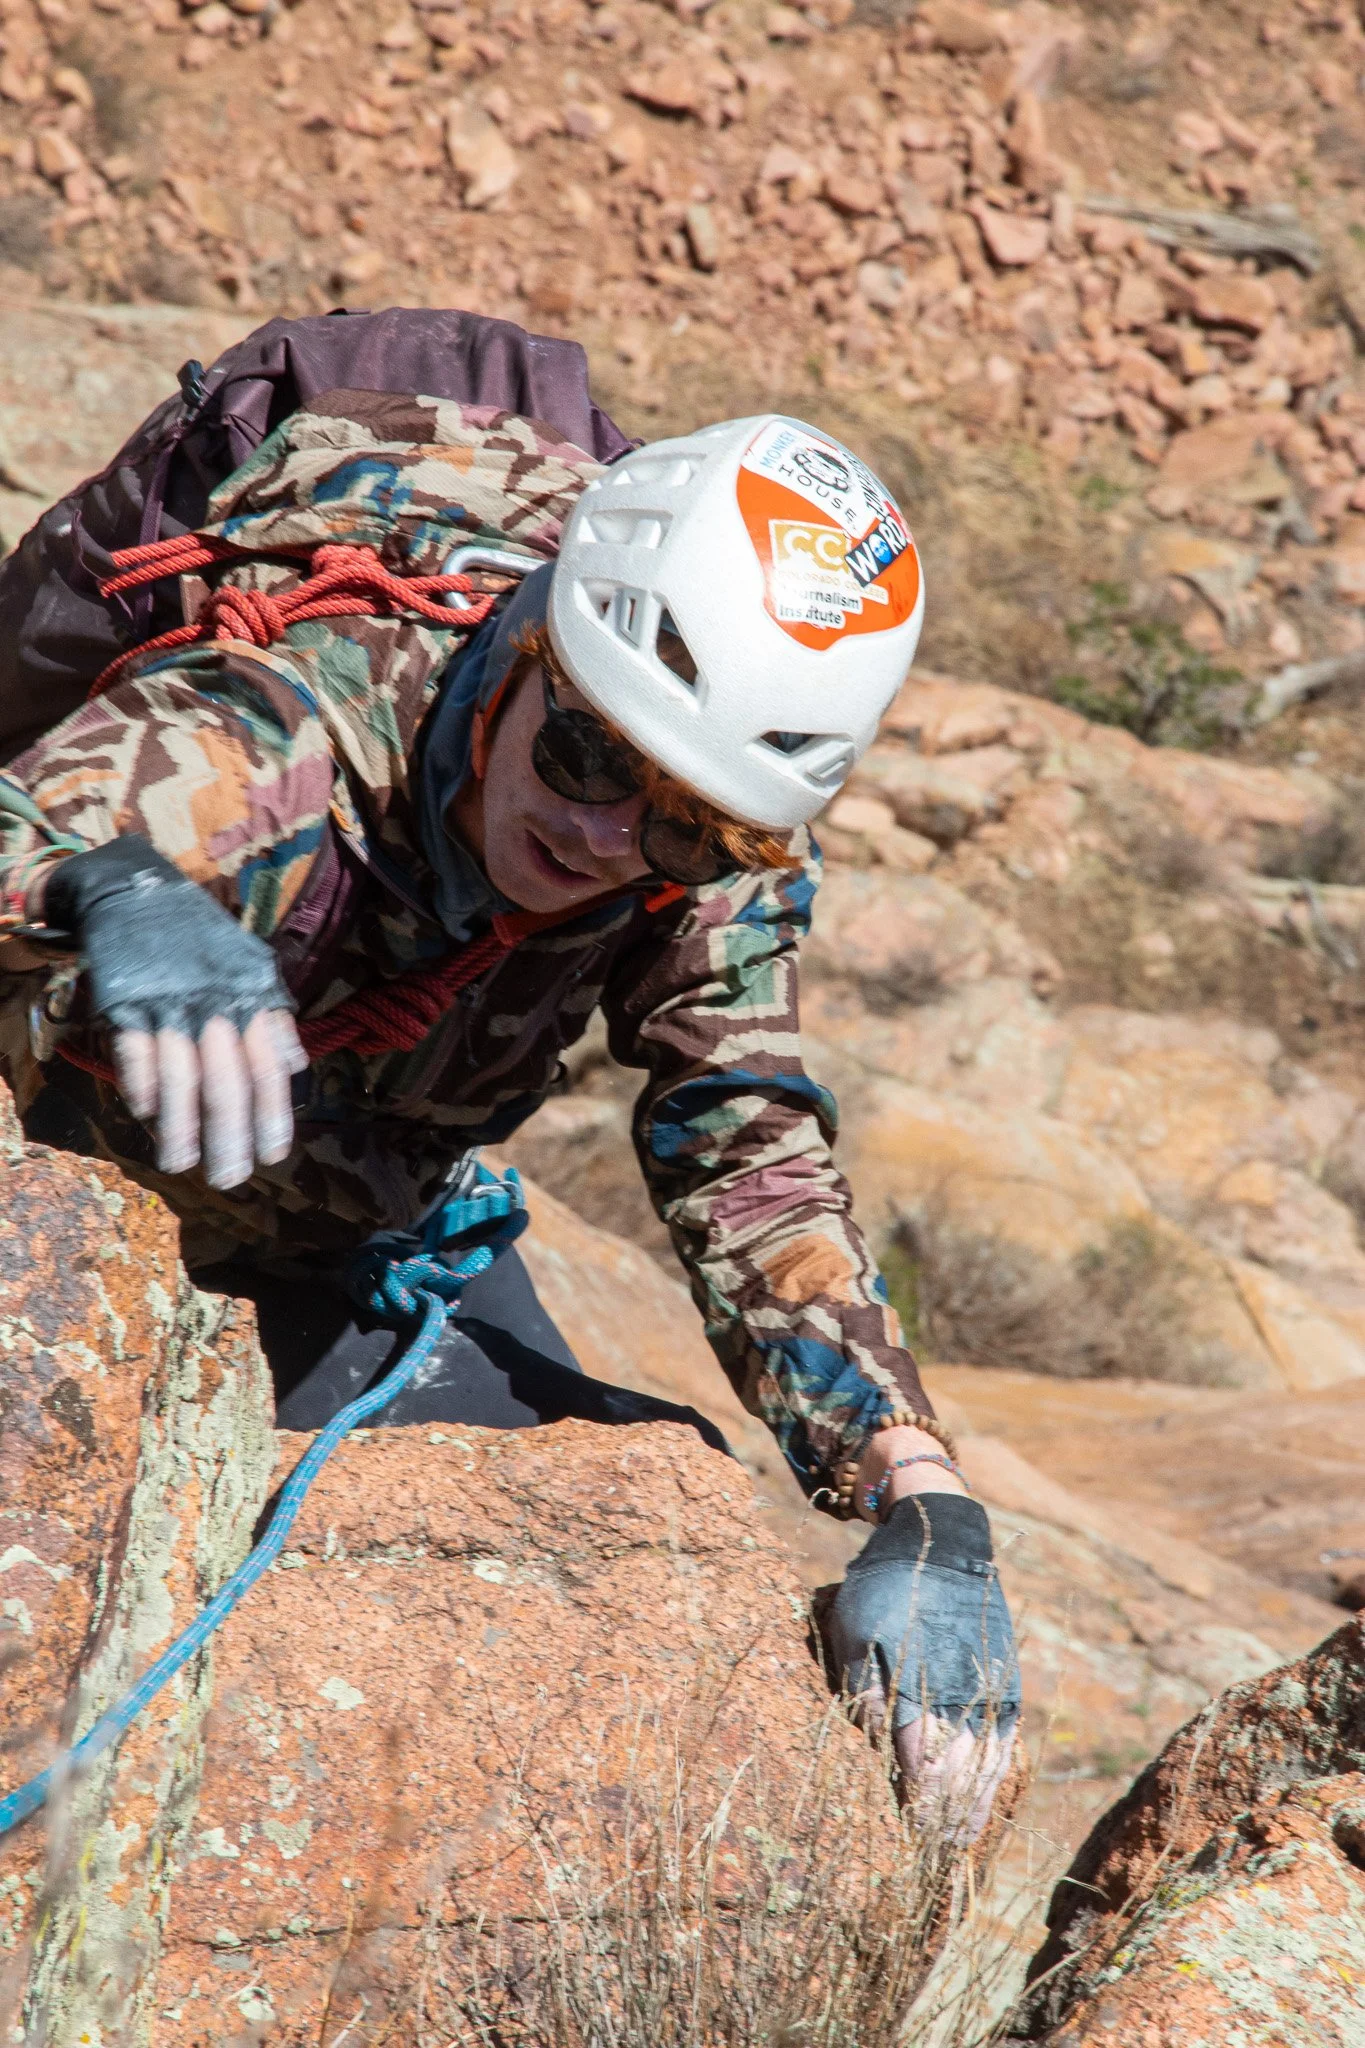
Pitch 3 continued with the same level of fun and engaging climbing. A couple moves need to be made above the anchor before you can get some gear in, and the mini roof is one of the highlights of the route. Above the roof to climbers left, you can see a summit register tube attached to a couple pitons. The paper inside was soaked. We didn’t have anything to replace it with, so go check it out if you’re up there.
Fun climbing off the anchor on pitch 3. Not a bad place to do a fixed point belay.
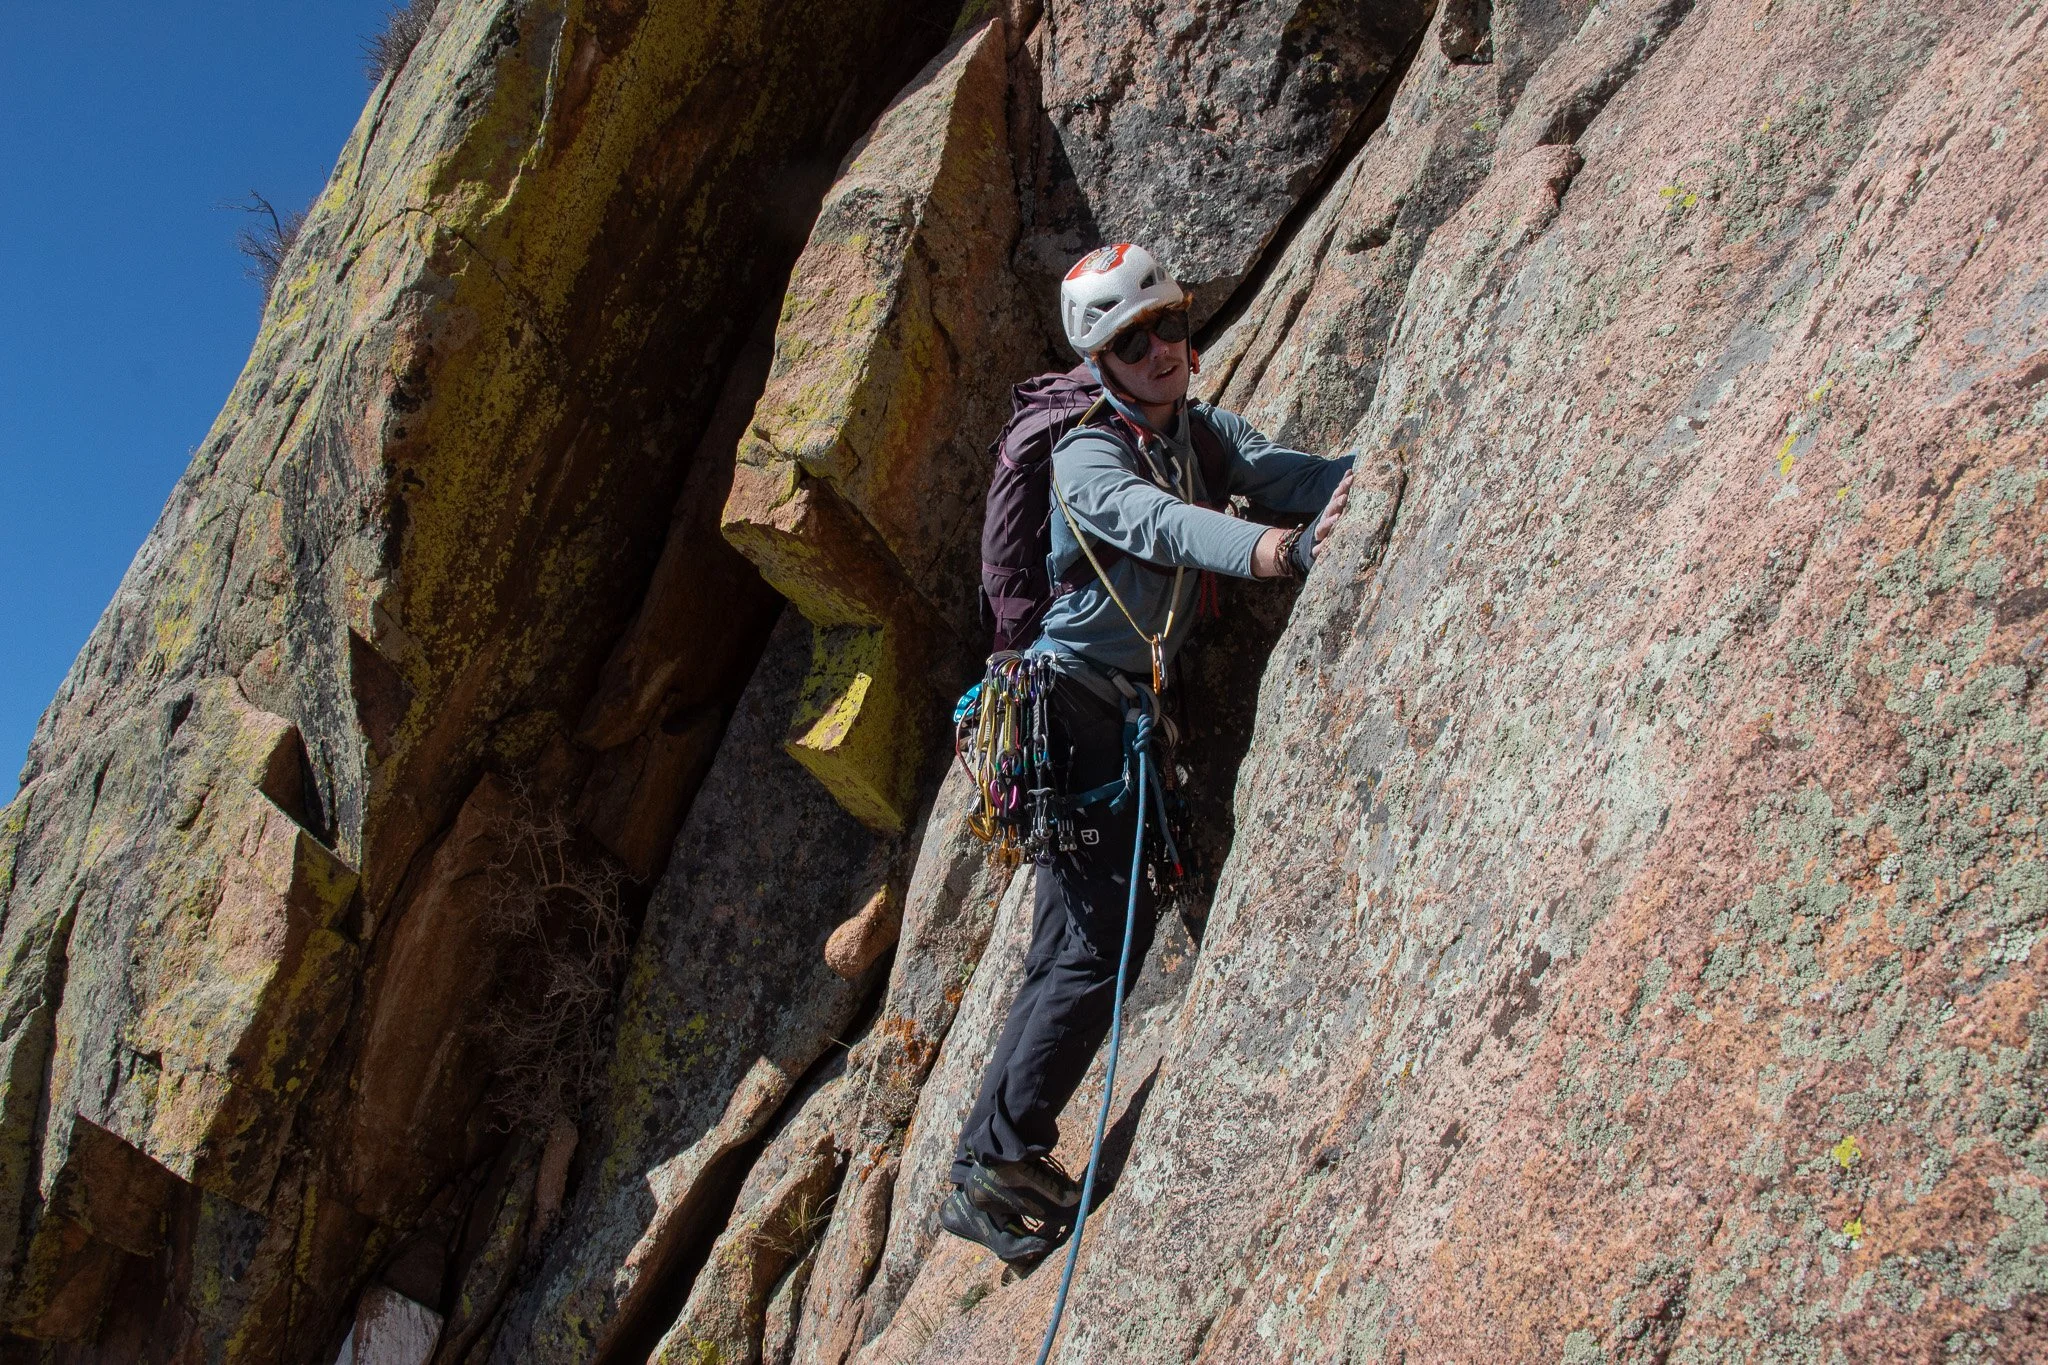
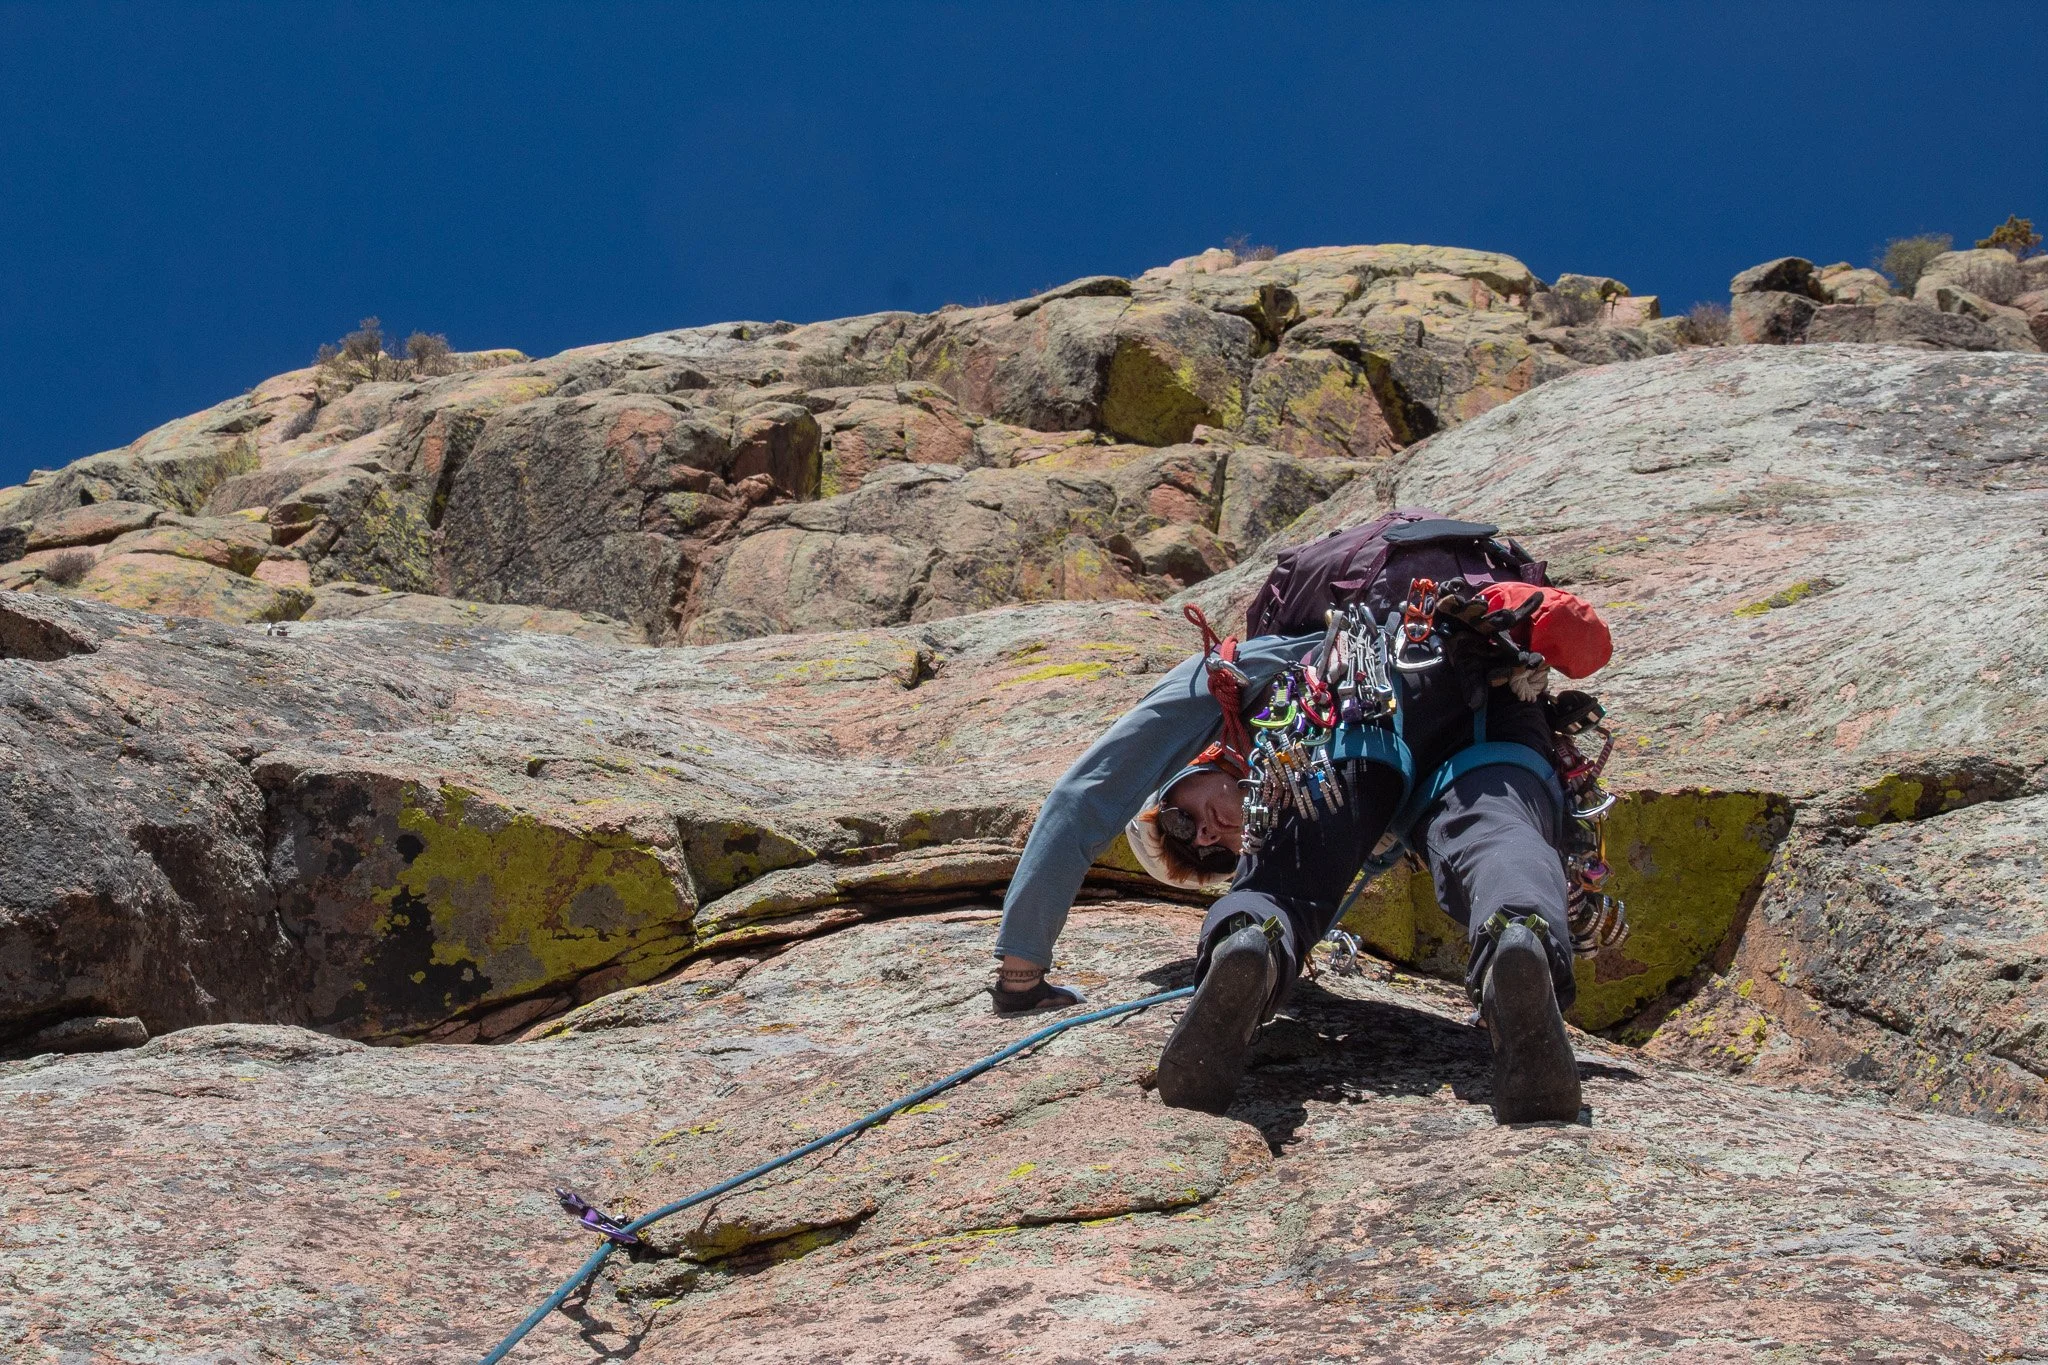
Pitch 4 has two options that lead to the same anchor. I highly recommend the right, 5.10b variation over the 5.5 gully. The right variation keeps all pitches at about the same quality and engagement level. The hardest section is pretty short, fun, and has good protection, including a bolt on the crux. The MP description calls it a “hand crack,” and we were a little confused looking up as we didn’t see anything the looked like a hand crack. The left(5.5) variation was easy to see. A bolt in a corner looked like where the right variation was showing on the topo, so I went for that. The corner is quite fun and required some stemming and fingers before a singular final “hand jam”. Although I was looking forward to a nice hand crack, this pitch did not disappoint!

The Pitch 4 5.10b variation
The “Hand Crack” aka hand jam can be seen.

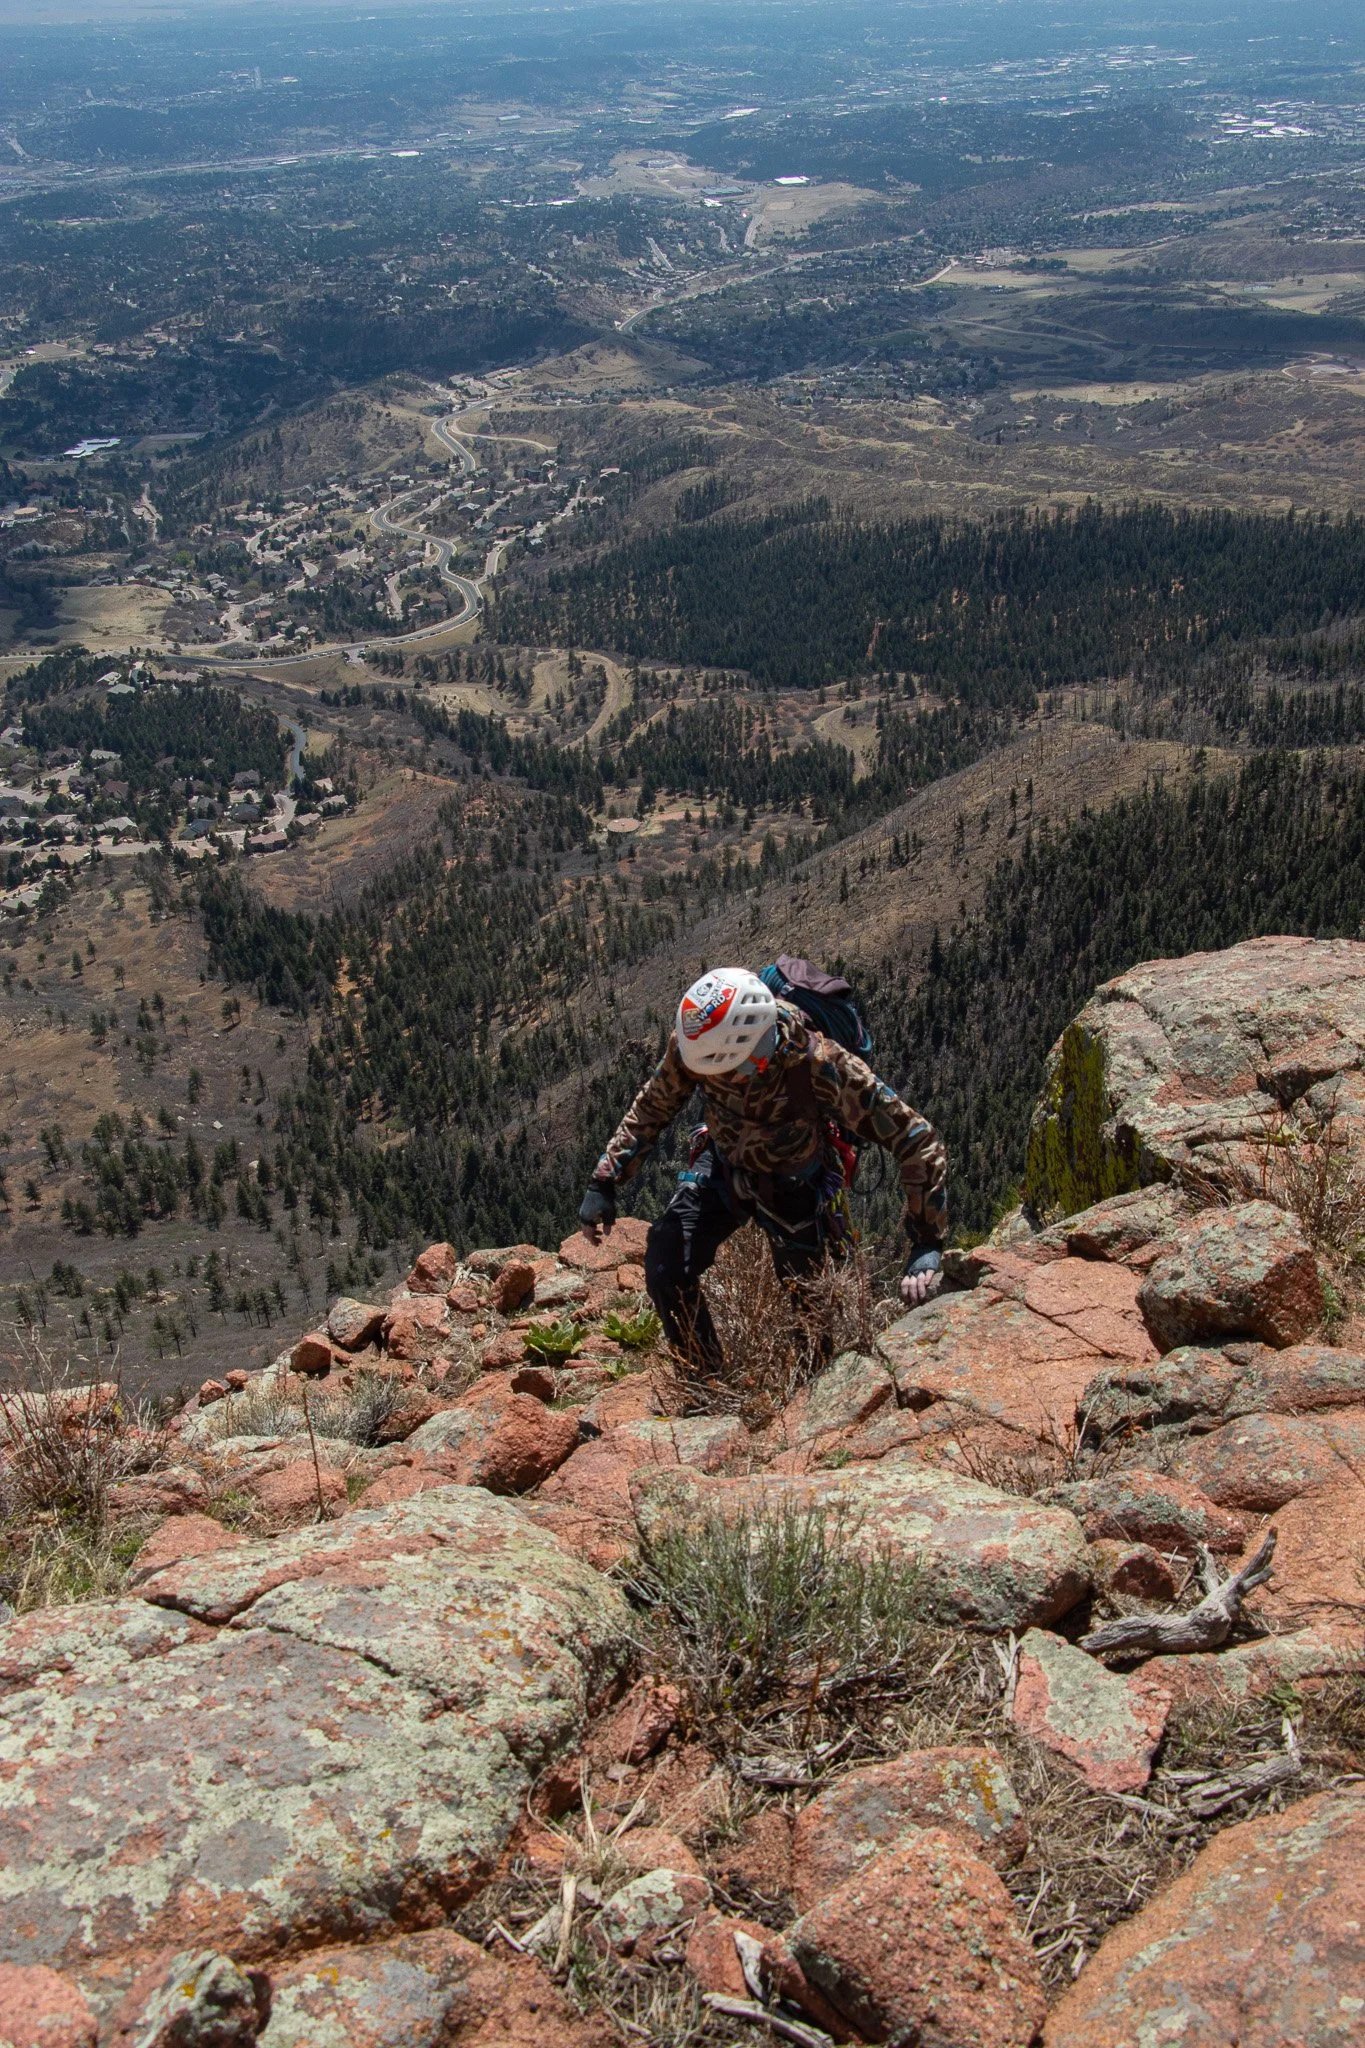
Above the Springs, the trailhead can be seen below.
I also recommend topping out unless you plan on doing one of the other routes on the east face. The scrambling above pitch 4 is pretty fun until it mellows out to the summit, which has great views. Seems a much better way to return vs. rappelling and talus hopping back to the trail. As mentioned before, leave the approach shoes at home and bring some deep lugged trail runners and a trekking pole, and the trail down is not bad.
We had some time so we bounced over to the Skyline Crag. We got on “Reach for the Sky”(S, 5.10b), a great route that would be popular at any crag. We only had the time and energy for one route, but if the rest are as good as Reach for the Sky, it will be well worth the hike to come back for the rest.
Takeaways:
-I’d repeat this route over and over. One of the best multi-pitches in the area(that I’ve done). Every pitch was 3 star climbing with 4 star views and positioning. I may be biased because I run the trail frequently anyways, so this is a great option close to home. The trail and approach will probably scare people away, but I’d rather spend 45 minutes hiking then an hour driving!
-My preferred way to approach is to take the main trail to a little past 8,500’ and then traverse under the east face in order to minimize gravelly bushwhacking.
-We had a rack of .1-#3 with doubles of .4-#2. It was more than adequate. We only placed the #3 once(the very last placement on the headwall) and could easily leave it next time. The #2 was only placed once or twice as well, and could probably be left without issue. .4-.75 was used the most, and small gear was useful(and light). We had nuts as well but I don’t remember placing any…
-”Air Force One” FA by Phil Wortmann, Jed Heming, Jay Karst. “Reach for the Sky” FA by Phil Wortmann and Kyle Ocular. Great work guys!